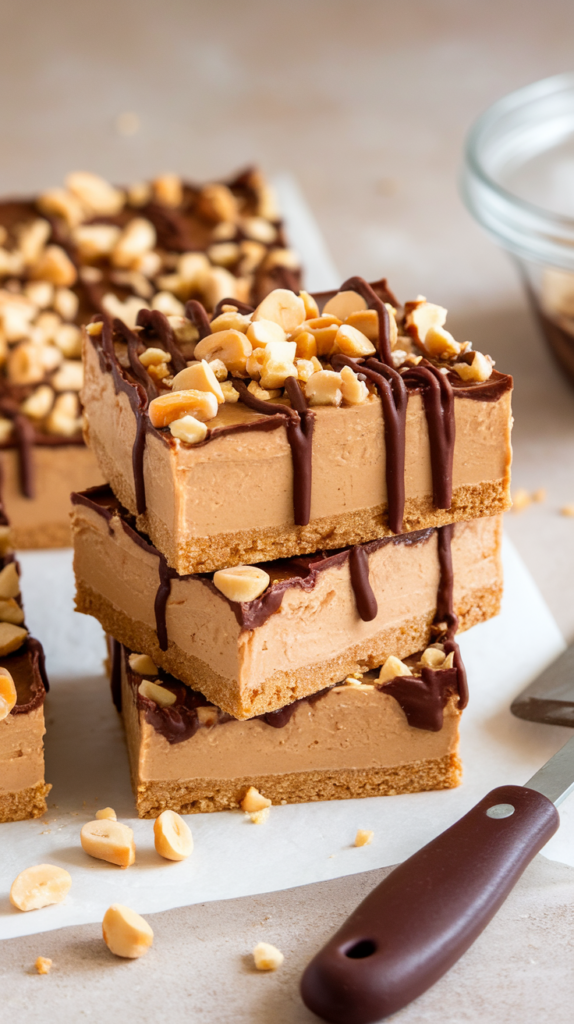
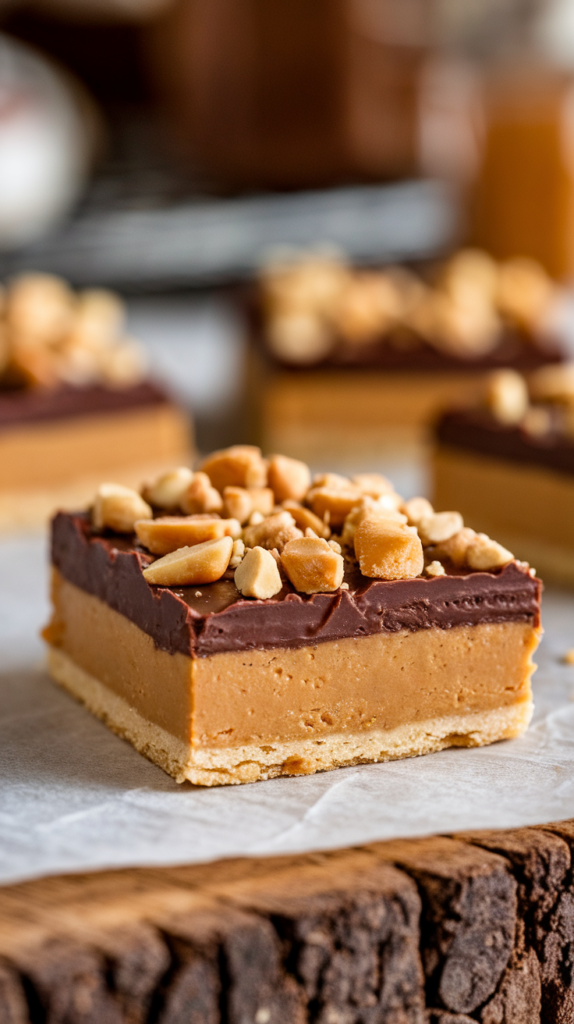
Being in the kitchen is special, especially when making quick desserts without baking. The other day, I wanted something sweet but didn’t want to use the oven. That’s when I thought of no-bake peanut butter bars.
These bars remind me of mixing peanut butter and chocolate as a kid. I made a batch that’s easy and tastes great. They’re perfect for parties, snacks, or just because.
Let’s make this no-bake dessert together. It’s sure to bring a smile to your face with every bite!
Why I Love Making No-Bake Peanut Butter Bars
Making no-bake peanut butter bars is special to me. They fit well into my busy life. I can make tasty treats quickly.
The taste of peanut butter is amazing. It satisfies my cravings. These bars are a hit with peanut butter fans.
Making these treats is easy. You don’t need much stuff. Cleaning up is simple too.
This makes cooking fun. I can enjoy making them without stress. I like changing the recipe to match my mood or what I have.
Sharing these bars with loved ones is a tradition. It brings warmth and connection. Good food is meant to be shared.
These bars mean more than just a snack. They’re about sharing joy and togetherness in my kitchen.
The Simplicity of No-Bake Recipes
No-bake recipes are loved for being easy. They need just a few ingredients and little prep time. This makes cooking fun and stress-free.
These recipes don’t need an oven. So, my kitchen stays cool. I can just focus on cooking without worrying about heat.
No-bake recipes let me get creative. I can try new flavors and mixes without worrying about baking times. This freedom lets me make dishes that I love, using what I have.
Whether it’s a sweet treat or a savory snack, no-bake recipes are simple. They make cooking fun and the results always taste great.
Ingredients for Easy No-Bake Peanut Butter Bars
Making Easy No-Bake Peanut Butter Bars is fun. You need the right stuff to make them tasty. My top picks are peanut butter, oats, and honey. They make the bars yummy and good to eat.
But, you can make them even better. Add some extra goodies to take them to the next level.
Essential Ingredients
The key to great no-bake bars is the basic ingredients. For mine, I pick:
- Peanut Butter: Go for creamy types like Jif or Skippy for a smooth taste.
- Oats: Rolled oats are best for their texture and flavor.
- Honey: It’s a natural sweetener that holds everything together.
Additional Flavor Boosters
Want to make your bars even better? Try these:
- Chocolate Chips: Semi-sweet or dark chocolate chips make them extra special.
- Nuts: Chopped almonds or walnuts add a nice crunch.
- Dried Fruits: Raisins or cranberries add a sweet surprise.
These ingredients let you make the bars your own. By choosing quality stuff, you get bars that are not just yummy but also filling. Try different mixes to find your favorite no-bake treat!
Step-by-Step Instructions for Preparation
Making these yummy peanut butter bars is easy. Just follow my steps for a simple process. You’ll get delicious results. Let’s start the recipe to make this tasty treat.
Mixing the Base
First, get your ingredients ready. In a big bowl, mix the creamy peanut butter, honey, and rolled oats. Stir until it’s all mixed up well.
A spatula or wooden spoon is good for this. Make sure all oats are mixed in. This helps the bars stick together.
Creating the Topping
Now, add a tasty topping to your bars. Melt your chocolate in a bowl that’s safe for the microwave. Stir every 30 seconds to avoid burning.
Once melted, pour it over the peanut butter base. Spread it out with a spatula for a nice finish. You can also add crushed nuts or sprinkles for extra fun.
Setting the Bars
Finally, press the mix into a lined baking pan. Make sure it’s even so it cuts well later. Press it down well.
Put it in the fridge for at least two hours. This lets the bars set. After that, take them out and cut them into rectangles. Enjoy your homemade treat!
Substitutions and Variations to Try
Looking into recipe substitutions can be exciting. It helps those with certain dietary needs or likes. I enjoy trying new ingredients to make tasty changes without losing flavor. This is great for making nut-free bars or for vegans.
Nut-Free Options
For those with nut allergies, making nut-free bars is key. I swap peanut butter for sun butter or soy nut butter. These options keep the bars tasty and safe for everyone.
Vegan Alternatives
Vegans can use agave syrup or maple syrup instead of honey. These sweeteners keep the treats sweet and tasty. This makes the recipe better for more people, keeping it simple and no-bake.
Ingredient Swaps for Dietary Needs
It’s fun to change the recipe for different diets. Using gluten-free oats is good for those with gluten issues. Adding plant-based protein powder boosts nutrition without losing flavor. These changes make healthy snacks for all.
Common Mistakes to Avoid
When making No-Bake Peanut Butter Bars, it’s easy to make mistakes. Not measuring ingredients right can make the bars too crumbly or too gooey. Always be precise when baking.
Using runny peanut butter is another mistake. If the peanut butter is too thin, the bars will be soggy. Choose a good brand of natural peanut butter to avoid this.
Don’t skip the chill time. Bars that don’t chill long enough will fall apart. Let them chill well in the fridge. These tips will help make your bars delicious every time.
Tips for Perfect No-Bake Peanut Butter Bars
To get the best bars, pay close attention to how you store and chill them. Simple tips can make a big difference. They help keep the bars tasty and smooth.
Storage Advice
Keeping the bars fresh is important. Store them in a sealed container in the fridge. This keeps them moist and flavorful.
Always write the date on the container. This helps you know when they’re at their best. Enjoy them within two weeks for the best taste.
Chilling Time Tips
Chilling the mix well is key for perfect bars. Chill the pan in the fridge for at least two hours. This lets the ingredients set right.
It prevents the bars from getting soggy or falling apart. Wrap the pan in plastic wrap. This keeps it dry and helps it chill better.
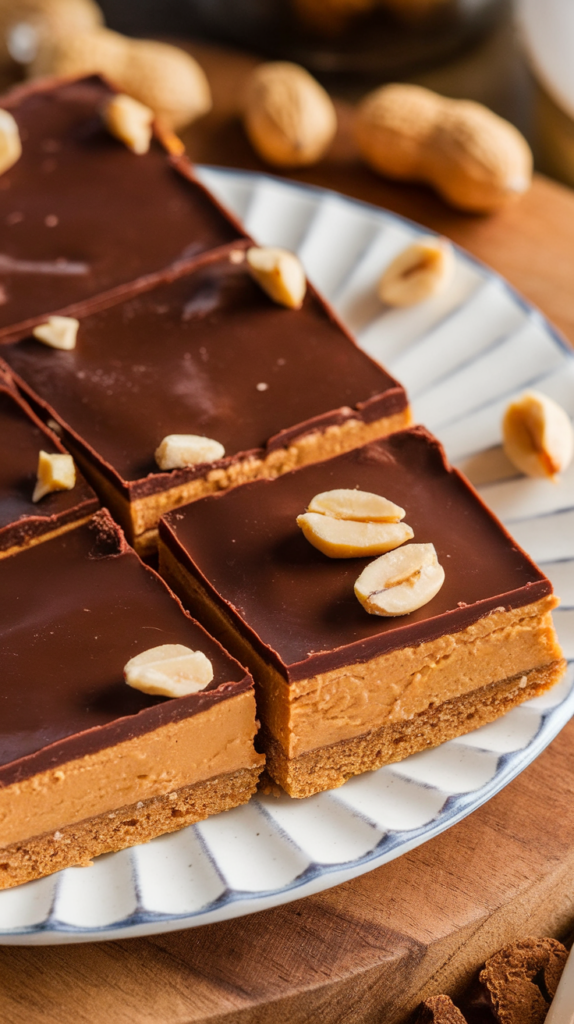
Serving Suggestions and Presentation Tips
When serving my no-bake peanut butter bars, how they look matters a lot. Simple ideas can make these treats stand out. A few tips can help you make a beautiful display for any event.
How to Cut Bars Neatly
For clean, even bars, use a sharp knife. Lightly score the bars before cutting all the way. This helps guide your cuts and prevents crumbling.
For perfect sizes, cut them the same. This makes them look great. Putting them on a pretty platter makes them even more appealing.
Pairing Suggestions for Events
I like to suggest pairings that make my no-bake peanut butter bars even better. They’re great with fresh fruit for extra flavor and color. Coffee or tea can also add to the richness.
At themed events, mix the bars with brownies or cookies. This adds variety in texture and taste. Showing them off in a creative way makes them special event treats.
Creative Ways to Enjoy Your Bars
No-Bake Peanut Butter Bars are so versatile. I love making them into new desserts. Instead of eating them plain, I like to get creative.
Crushing the bars over yogurt makes it crunchy and tasty. It turns simple yogurt into a special treat.
Layering the bars in dessert bowls is another fun idea. I stack them with fruits and honey or chocolate sauce. It’s not only pretty but also tastes amazing.
On hot days, I use the bars for ice cream sandwiches. Two bars and a scoop of ice cream make a perfect summer treat. They’re great for many sweet creations.
Exploring new ways to enjoy these bars is fun. It makes me happy to find new ways to enjoy them. It’s rewarding to find new ways to enjoy these tasty treats.
Nutrition Information for Easy No-Bake Peanut Butter Bars
Learning about the nutrition facts of Easy No-Bake Peanut Butter Bars is key. It lets us enjoy these tasty treats while keeping an eye on our diet. Each bar has a good mix of calories, protein, and healthy fats. This makes them perfect for a quick snack.
| Nutrient | Per Serving (1 Bar) |
|---|---|
| Calories | 150 |
| Total Fats | 8g |
| Saturated Fat | 2g |
| Protein | 5g |
| Carbohydrates | 18g |
| Sugars | 7g |
| Fiber | 2g |
The peanut butter in these bars gives a lot of protein. The oats add fiber, making us feel full. This makes No-Bake Peanut Butter Bars not just yummy but also a healthy choice. I’m happy to have a satisfying snack that doesn’t hurt my diet.
Conclusion
Looking back at Easy No-Bake Peanut Butter Bars, they’re a big win. They’re tasty and easy to make. You can make something special for your loved ones with just a few ingredients.
These bars are great for any event. They’re perfect for a simple hangout or a big celebration. You can even add your own twist to make them special.
Start baking with confidence and enjoy every bite. These bars are easy and yummy. Share them with others and make more happy moments.
FAQ
Can I substitute peanut butter with another nut butter?
Yes! You can use sunflower seed butter or soy nut butter. They taste and feel like peanut butter. This makes them perfect for this recipe.
How long do the No-Bake Peanut Butter Bars last?
These bars last up to a week in the fridge. Keep them cold to keep them firm and tasty!
What should I do if my bars are too crumbly?
Crumbly bars often mean not enough wet stuff. Add more honey or peanut butter. Mix well until it’s right.
Can I make these bars vegan?
Yes! Use maple syrup or agave nectar instead of honey. Make sure the peanut butter is vegan too.
What’s the best way to cut the bars without them crumbling?
Use a sharp knife and warm it a bit. This makes clean cuts. Your bars will look nice and stay together.
Can I freeze the No-Bake Peanut Butter Bars?
Sure! Freeze them for up to three months. Wrap them well to avoid freezer burn.
Are there any additional toppings I can add?
Yes! Try chopped nuts, shredded coconut, or melted chocolate. Make them your own and enjoy!
How do I make these bars gluten-free?
Use gluten-free oats to make them gluten-free. This way, you can enjoy them without worrying about gluten.